Show host images
You can show host images next to their messages on the Host GUI. The image can be either an actual image uploaded to Roblox, or an in-game character. You can also configure the default image. You configure the images in the Images setting.
Open the HostGui folder and double click the Settings script. The Images setting should be at or around line 13.
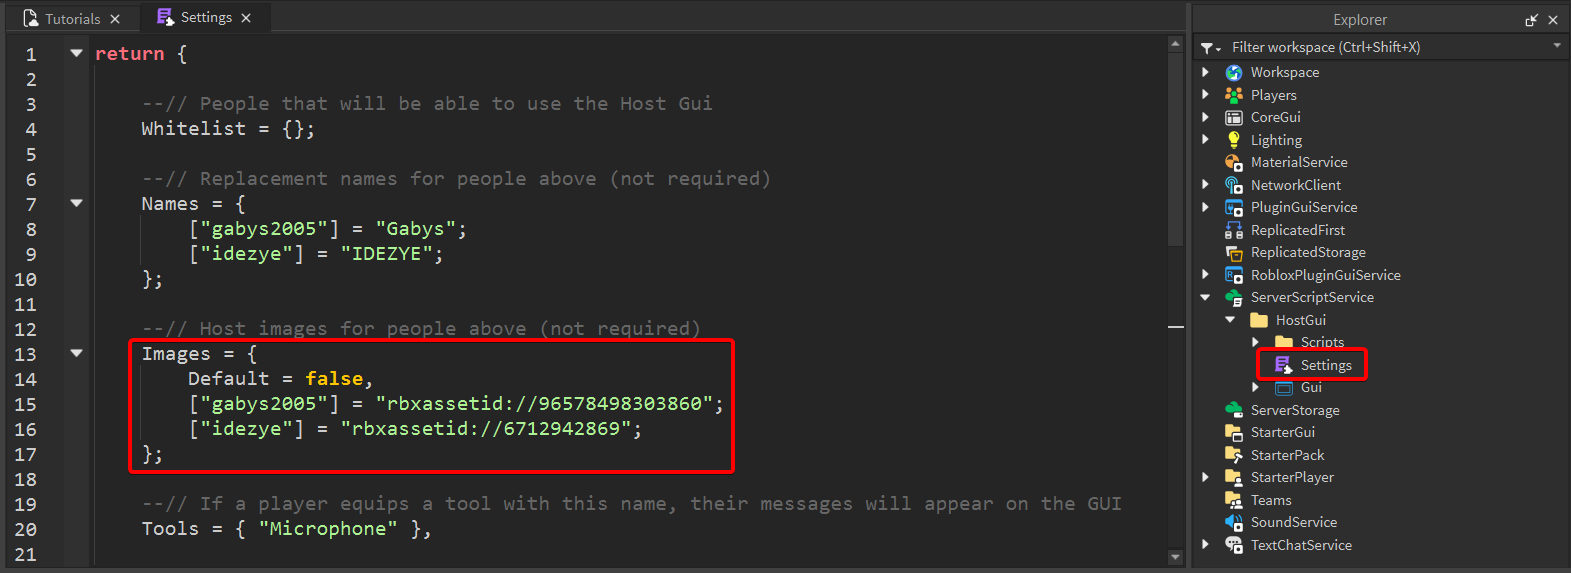
There are some examples left in the settings by default:
- The
Defaultsetting will apply to anyone who isn't specified in this setting.Default = falsemeans that there are no host images by default. - The next 2 lines include host images for
gabys2005andidezye. The name goes on the left side of the=and an image ID goes on the right side.
Setting the default image
Let's set the default image. Default here means that everyone who isn't assigned a different image will have this one appear next to their messages.
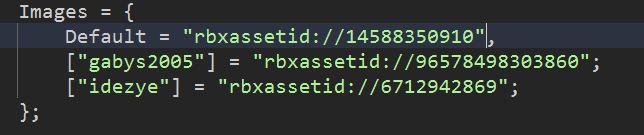
First, pick an image to display next to the Host GUI. Go to https://create.roblox.com/dashboard/creations?activeTab=Image (the Images) tab and choose an image. Copy the ID from its link. For example, if the link is https://create.roblox.com/dashboard/creations/store/14588350910/configure, then the ID is 14588350910.
Make sure to copy image IDs. Use the Images tab on the website, not the Decals tab. Decal and image IDs are different.
Go back to Roblox Studio. Replace false next to Default with "rbxassetid://ID_HERE" and put the ID you copied in place of ID_HERE. In our case, it's "rbxassetid://14588350910". Now when you start the game and send a message, you should see an image appear next to it.
Setting player-specific images
Most of the time you want to have a different image for each host. You can do that below the Default setting. Copy one of the examples we left you and change the username on the left and the image ID on the right.
Let's make GiorgioworldcupTEMP use image with the ID 118893204380913. Copy one of the examples and paste them directly below:
Images = {
    Default = false,
    ["gabys2005"] = "rbxassetid://96578498303860";
    ["idezye"] = "rbxassetid://6712942869";
    ["idezye"] = "rbxassetid://6712942869";
};
Change the name on the left to GiorgioworldcupTEMP and the image on the right to rbxassetid://118893204380913
Images = {
    Default = false,
    ["gabys2005"] = "rbxassetid://96578498303860";
    ["idezye"] = "rbxassetid://6712942869";
    ["GiorgioworldcupTEMP"] = "rbxassetid://118893204380913";
};
Now when GiorgioworldcupTEMP sends a message, the image with ID 118893204380913 will be shown.
Using in-game characters
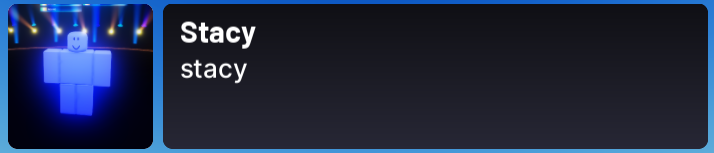
Instead of displaying images, you can display an in-game character. To display the character of the player sending the message, you can set the right side to "character". For example, if you want idezye's messages to have their character next to the messages, the setting could look like this:
Images = {
    Default = false,
    ["gabys2005"] = "rbxassetid://96578498303860";
    ["idezye"] = "character";
};
This will use the player's current appearance. If they change their appearance in-game, those changes will be reflected on the GUI.
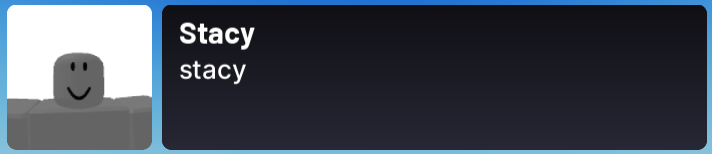
If you want to use a character other than the player's current appearance, you can provide a path to an NPC (with a humanoid) instead. Let's say you want to change the character of gabys2005 to an NPC named Host1 that's directly in workspace. In this case the setting could look like this:
Images = {
    Default = false,
    ["gabys2005"] = workspace.Host1;
    ["idezye"] = "character";
};
The code will not see any accessories or clothing you apply directly to your NPC. It relies on the HumanoidDescription in the NPC and will only see changes applied with the description.