1. Insert the Host GUI
This page will guide you through getting the model and inserting it in the right place in your game.
1.1. Add the model to your Toolbox
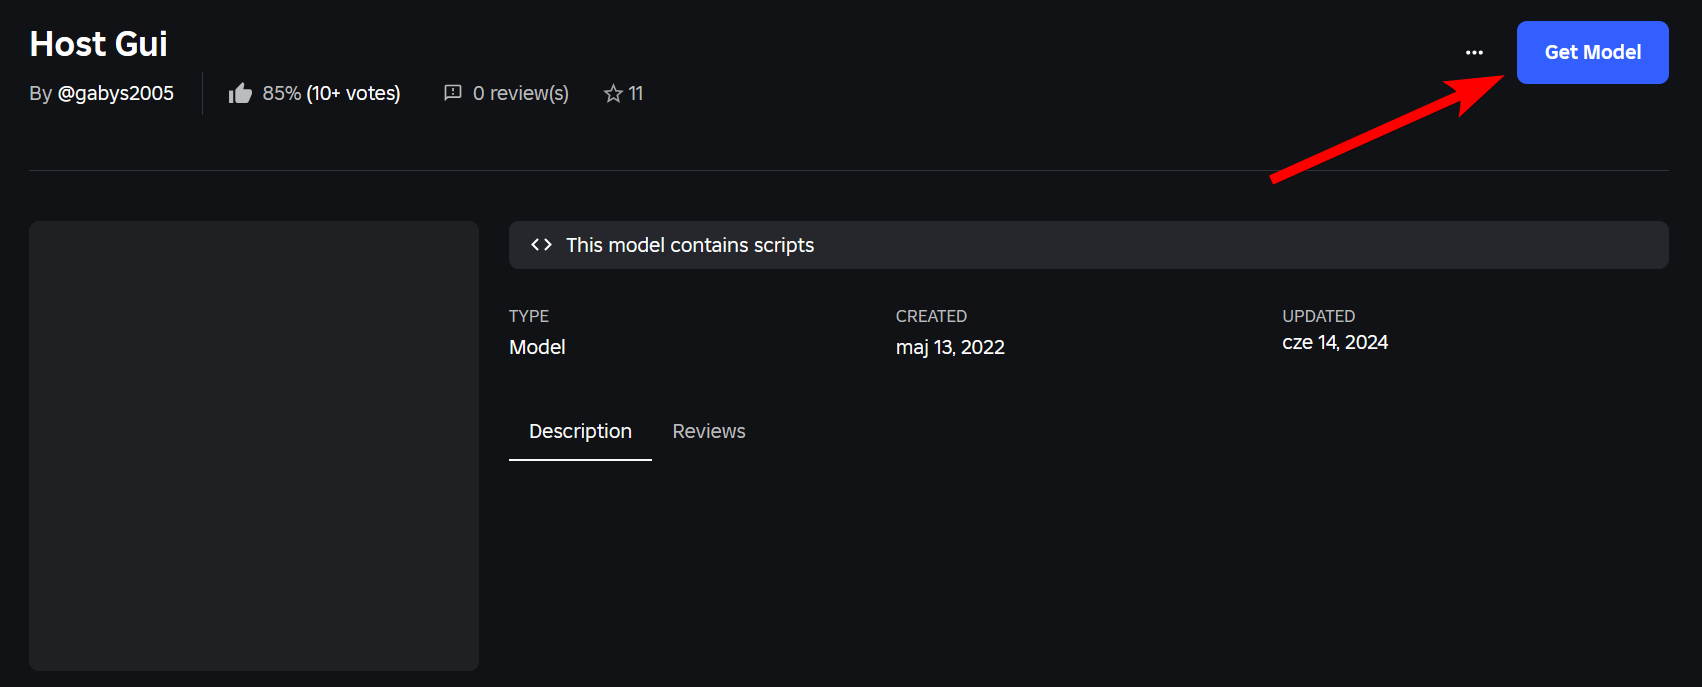
Press the Creator Store button below to get taken to Roblox's creator store. When you're there, press the Get Model button. This will put the Host GUI into your Toolbox.
1.2. Insert the model into your game
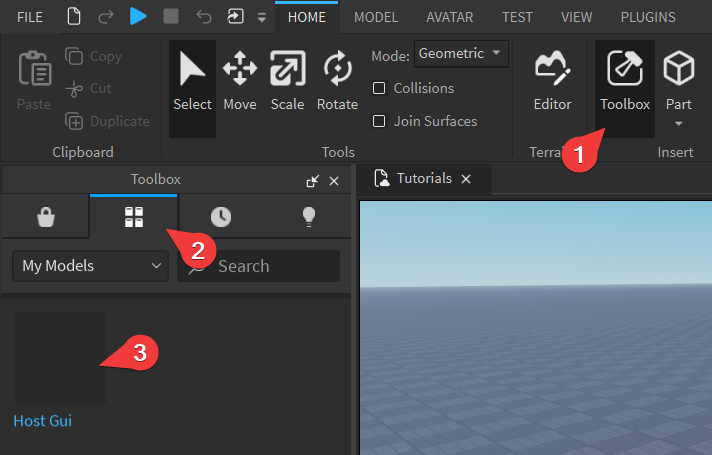
Open your game in Roblox Studio. Open the Toolbox window and go to the Inventory tab. Drag the Host GUI into your game.
Open the Explorer window by going to the View tab and pressing the Explorer button. Open Workspace and drag the HostGui folder into ServerScriptService.
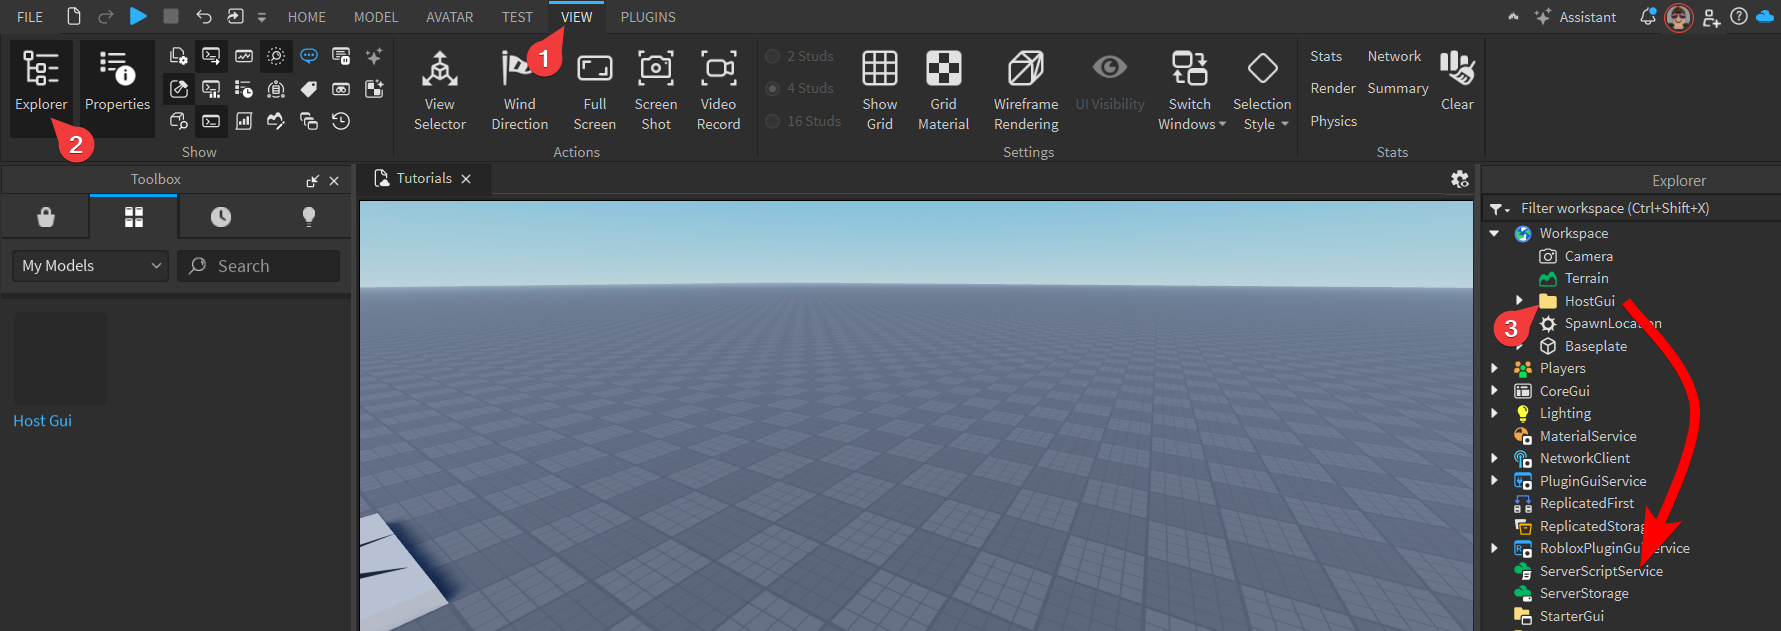
The Explorer window contains everything in your game. There are multiple 'folders' you can put stuff into. Workspace usually contains everything that's visible or interactible. ServerScriptService is a special folder for scripts. Technically there aren't any requirements for the Host GUI to be there, but it's a nice way to keep your game organised.
1.3. Test if everything works correctly
By default, the control button of the Host GUI is not whitelisted, so you should be able to access it without changing anything. Start the game. You should see a 'chat' icon on the right side of your topbar. Select it and send anything in chat. If everything works correctly, you should see the Gui appear.
![]()